 Features / Notes & Content
Document Shape
Overview
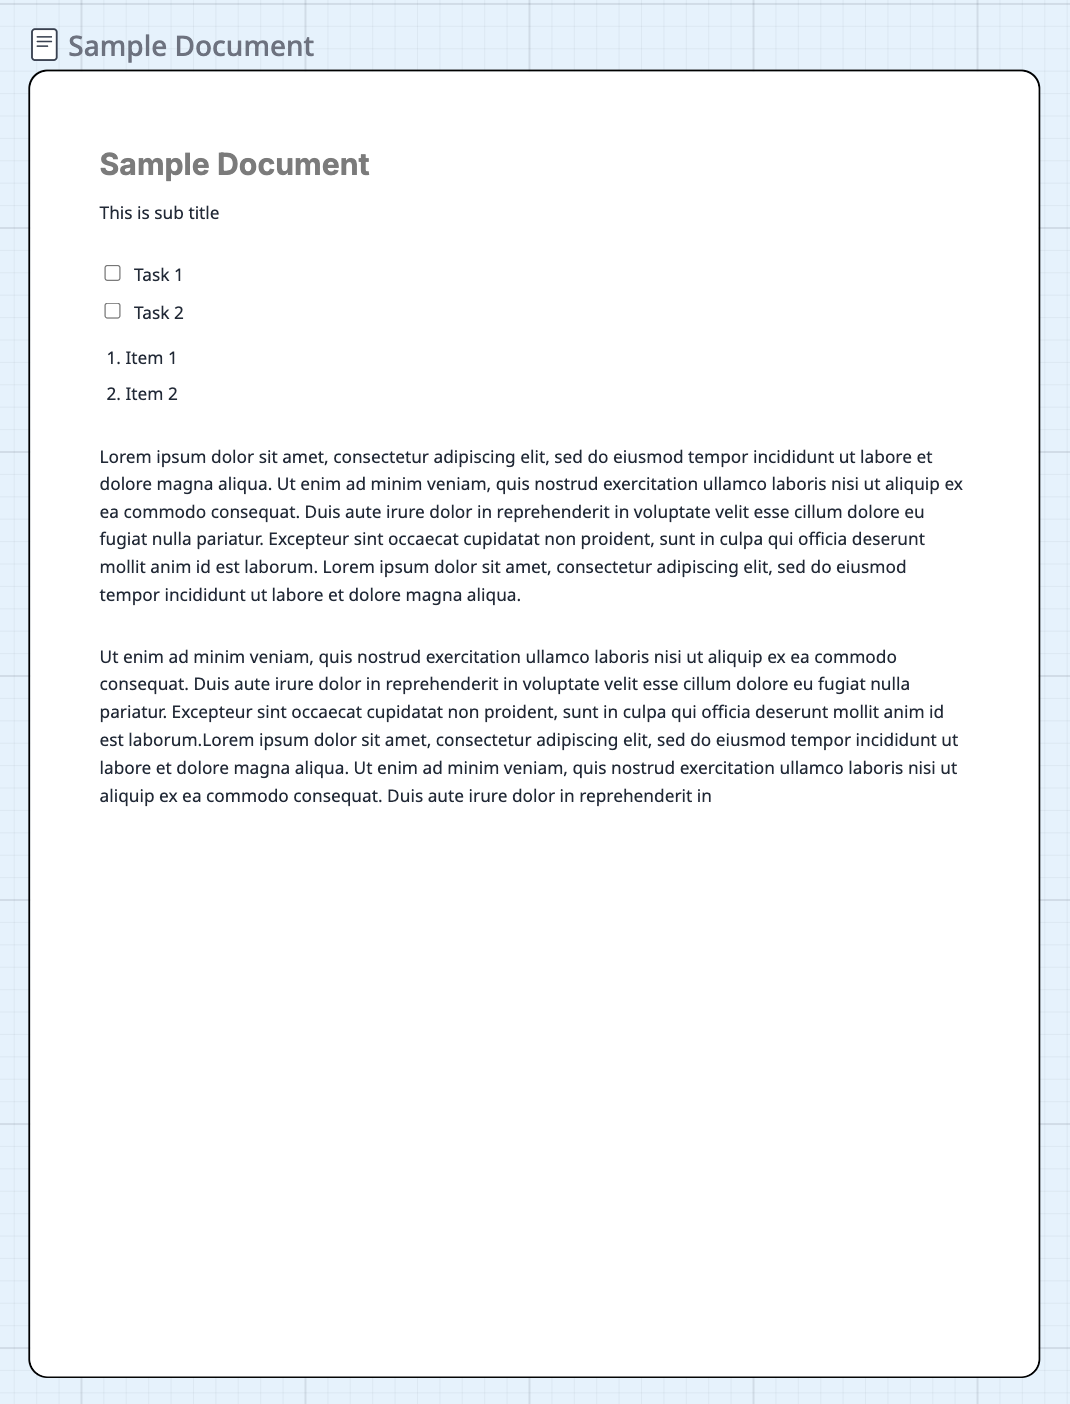
Section titled “Overview”The Document shape lets you create fully formatted rich text documents right on the Bizby canvas. Think of it as a mini word processor embedded in your board — perfect for meeting agendas, project briefs, specifications, or any long-form content that lives alongside your visual collaboration.
Documents display with a labeled tag (like frames) showing the document title, scale proportionally when resized, and can be exported to PDF.
Creating a Document
Section titled “Creating a Document”- Click the More Tools chevron button (bottom of the toolbar) to open the shapes menu
- Click the Document icon in the left column
- Click anywhere on the canvas to place the document
Documents default to 600 x 776 pixels (letter aspect ratio) with an “Untitled Document” title.
Editing
Section titled “Editing”- Single click to select the document
- Double-click to enter edit mode and start typing
- Escape to exit edit mode
The first line is always enforced as an H1 heading, serving as the document title. This title also appears in the document’s tag label on the canvas.
Formatting Toolbar
Section titled “Formatting Toolbar”Select text while editing to reveal a floating toolbar near your selection with:
- Headings — H1, H2, H3, and normal paragraph (first line locked to H1)
- Bold, Italic, Strikethrough
- Bullet Lists and Ordered Lists
- Task Lists — Interactive checkboxes
- Text Color — Choose from preset colors (gray, red, orange, green, blue, purple)
- Highlight — Yellow highlight for emphasis
- Links — Add clickable URLs
The toolbar appears near the cursor when you highlight text, and hides when the selection is collapsed. For empty documents, it stays visible so you can format your first content.
Proportional Scaling
Section titled “Proportional Scaling”When you resize a document, the content scales proportionally with the shape. This means documents look correct at any size — zoom out to see the big picture, zoom in to read details.
Document Label
Section titled “Document Label”Each document displays a text label above its top-left corner showing a document icon and the title (first line). The label scales inversely with canvas zoom so it stays readable at any zoom level. The label is non-interactive — click and drag the document body to select and move it, with full alignment/snap guides.
Documents Panel
Section titled “Documents Panel”Access all documents on your board from one place:
- Click the Board Tools button in the top menu bar
- Select Documents from the dropdown
- The Documents panel opens on the left, listing all documents sorted alphabetically
Click any document entry to select it and zoom to its location on the canvas. Each entry shows the document title and a preview of the second paragraph.
Export to PDF
Section titled “Export to PDF”Right-click a selected document and choose Export as > PDF to generate a formatted PDF with full formatting preserved.
Miro Import
Section titled “Miro Import”When importing a Miro board, certain Miro content types automatically convert to Bizby documents:
- Miro checklists (doc_format) convert to documents with task lists
- Miro widget stacks are detected and imported with correct positioning
Performance
Section titled “Performance”Documents are optimized for large boards:
- Lazy TipTap editor — The rich text editor is only created when you enter edit mode, keeping the canvas fast
- CSS-based scaling — Document content uses CSS transforms instead of re-rendering, so pan and zoom stay smooth
- No global listeners — Documents don’t interfere with canvas interactions like panning, zooming, or selecting
Related Features
Section titled “Related Features”- Board Notes — Rich text notes in a dedicated side panel
- Decision Notes — Capture decisions from polls and discussions
- Miro Board Import — Import Miro boards including checklists as documents
- Features — See all Bizby features